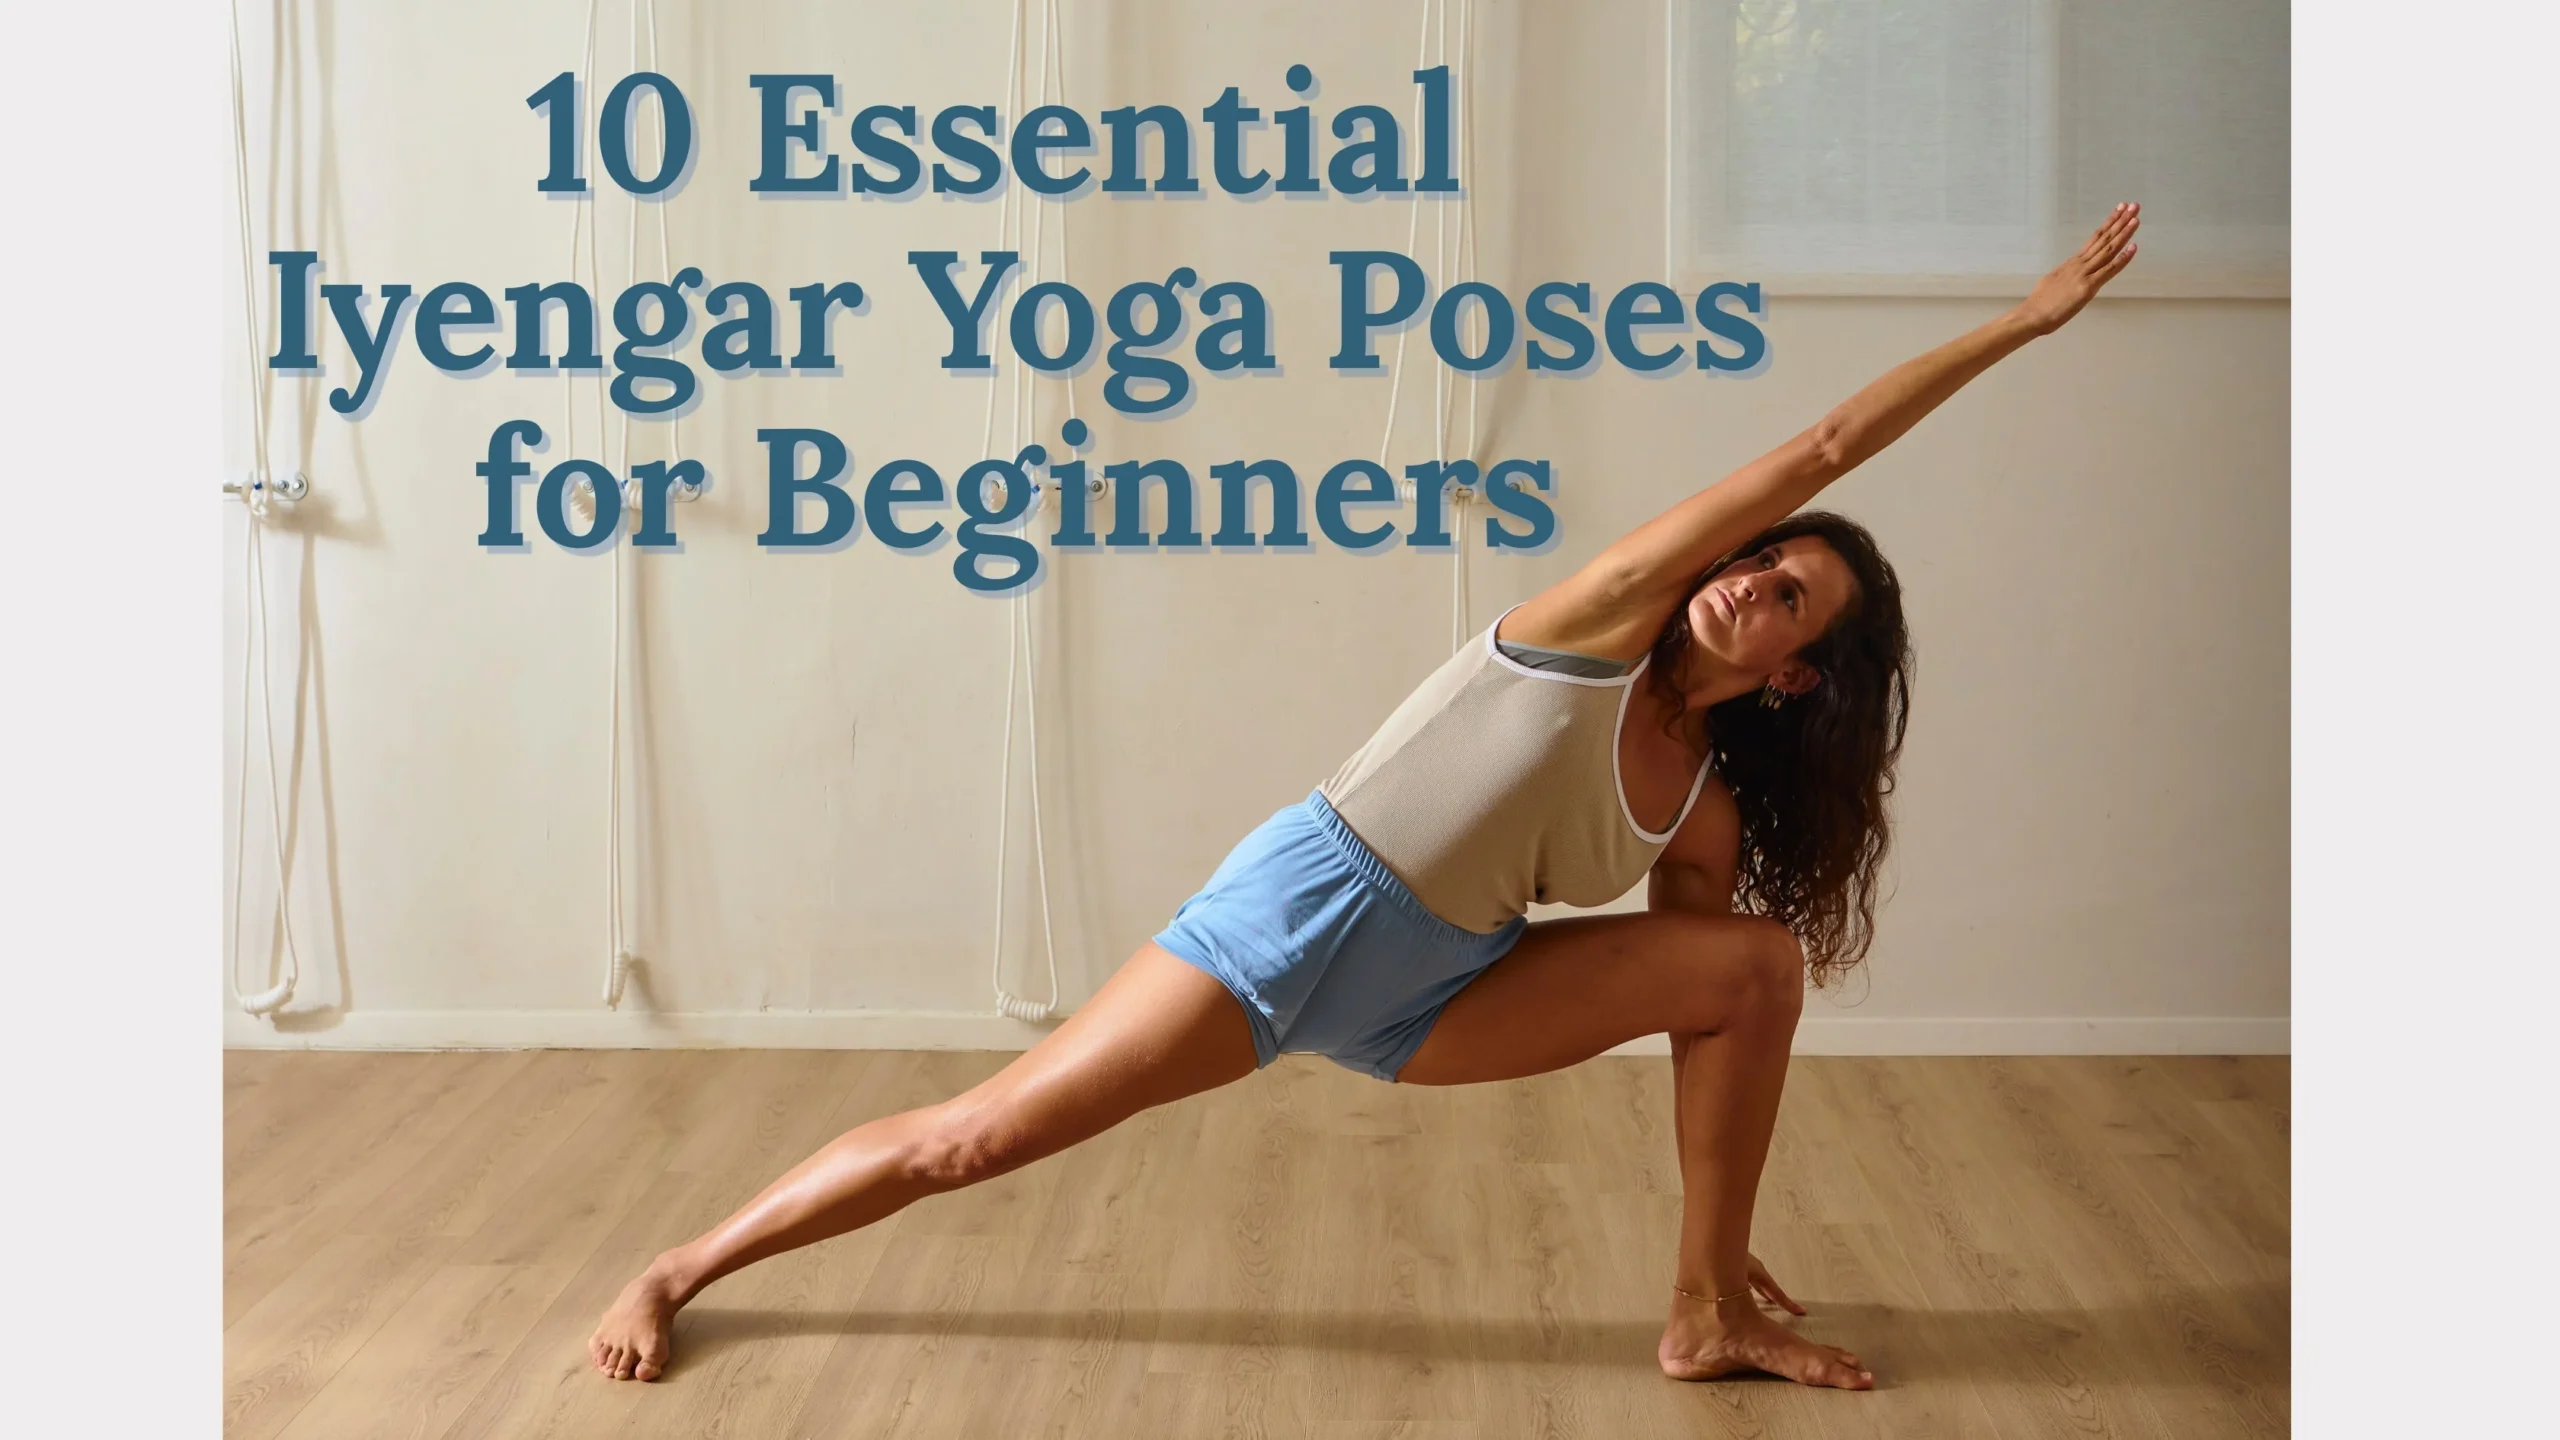
I remember my first Iyengar yoga class like it was yesterday. I walked in feeling stiff from years hunched over a desk, skeptical that any “exercise” could fix my nagging back pain. But by the end of that session, something shifted—not just in my body, but in how I felt about myself. The teacher adjusted my stance in Mountain Pose with a simple block under my heels, and suddenly I stood taller, breathing deeper. It wasn’t dramatic, but it was real. That’s the magic of Iyengar yoga: it meets you exactly where you are, especially as a beginner.
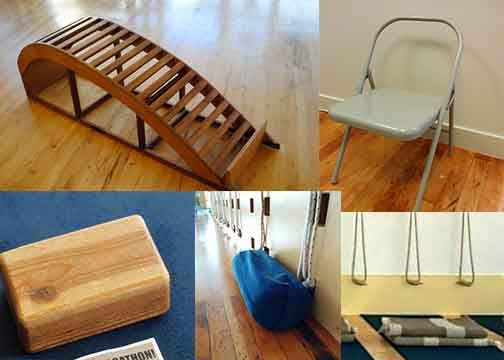
If you’re new to this, you’re in the right place. Iyengar yoga, developed by the legendary B.K.S. Iyengar, emphasizes precision, alignment, and the intelligent use of props like blocks, belts, and blankets. This makes it incredibly accessible—no need to be flexible or strong right away. Props help you experience the full benefits of each pose safely, building a strong foundation without strain.
In this guide, we’ll explore 10 essential poses that form the cornerstone of beginner Iyengar practice. These aren’t random; they’re foundational asanas that improve posture, build strength, enhance flexibility, and calm the mind. Practiced regularly, they’ll transform how you move through life. Let’s dive in.
What Is Iyengar Yoga and Why Is It Perfect for Beginners?
Iyengar yoga stands out for its meticulous attention to detail. Unlike faster-paced styles, poses are held longer, allowing you to refine alignment and deepen awareness.
This approach is ideal for beginners because it prioritizes safety and progression. Props modify poses, preventing injury and making them achievable. As B.K.S. Iyengar often said, yoga is for every body—young, old, stiff, or flexible.
Benefits include better posture, reduced stress, increased strength, and even therapeutic relief for issues like back pain or anxiety. I’ve seen it firsthand: friends who started skeptical ended up hooked after feeling that subtle shift toward balance.
Getting Started: Essential Props and Tips
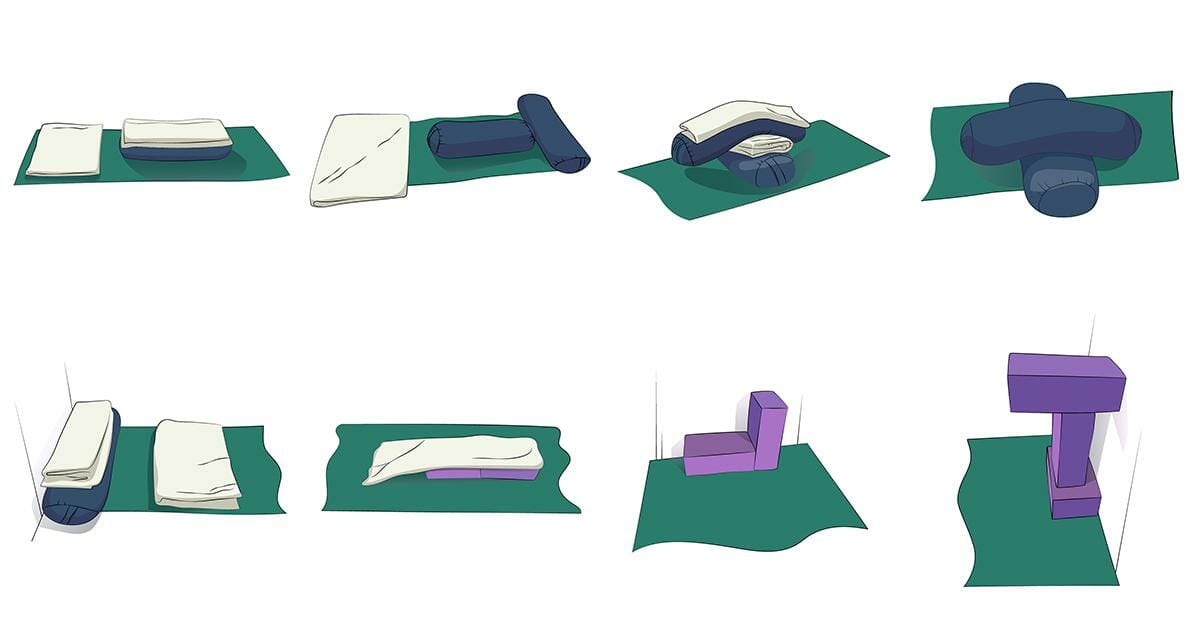
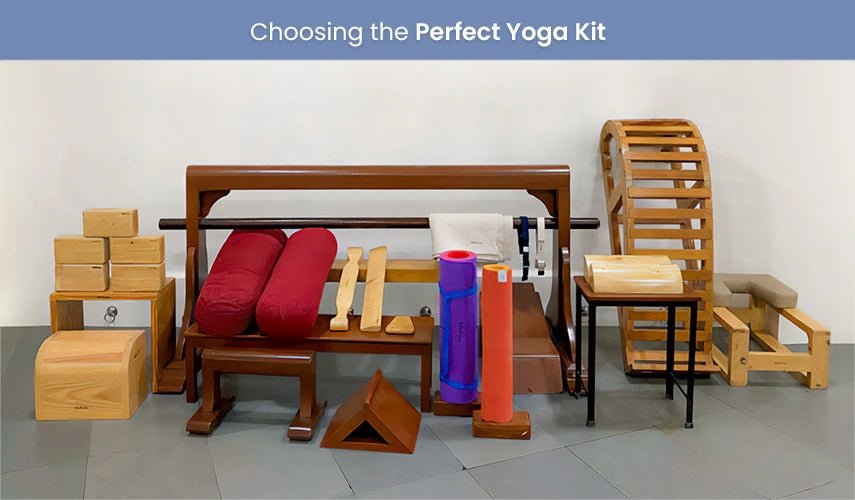
Before we jump into the poses, gather a few basics: a yoga mat, 2-3 blocks, a belt (or scarf), and blankets. These aren’t optional in Iyengar—they’re tools for precision.
Start in a quiet space, wear comfortable clothes, and practice on an empty stomach. Breathe steadily through your nose. If something hurts (not to be confused with a deep stretch), back off and use more props.
A light tip: don’t rush. Iyengar is about quality over quantity. Hold each pose for 30 seconds to a minute at first, building up gradually.
Common Beginner Mistakes to Avoid
Newcomers often force poses or ignore alignment, leading to strain.
Focus on steady breathing—don’t hold it. Use props generously; they’re not “cheating.” Listen to your body and avoid comparing yourself to others.
The 10 Essential Poses
These poses build progressively: starting with standing for grounding, moving to balances, forward bends, and ending in relaxation. Practice them in sequence 3-5 times a week.
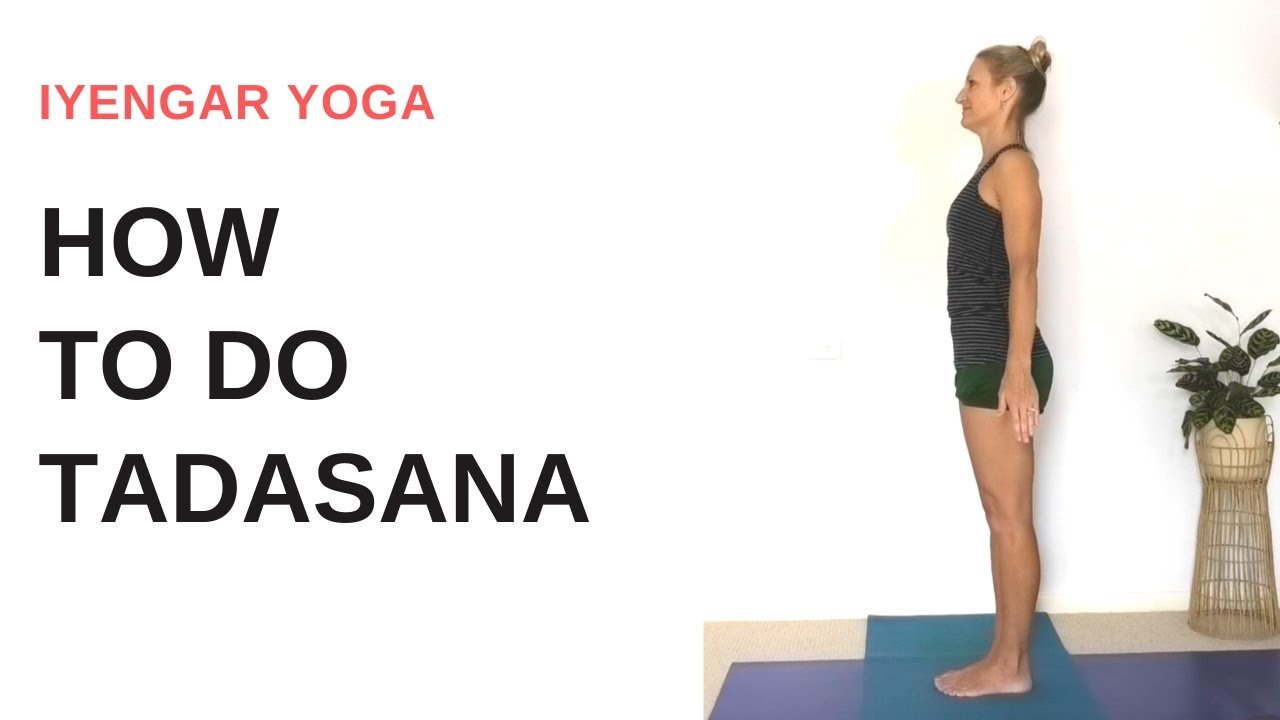
1. Tadasana (Mountain Pose)
Tadasana is the foundation of all standing poses. It teaches you to stand with awareness, improving posture instantly.
Stand with feet together, arms by sides. Ground through your feet, lift your kneecaps, lengthen your spine, and reach the crown of your head upward. Gaze forward.
I once had a student who joked that Tadasana made her feel “unconquerably tall”—and she was right. It’s simple but profound.

:max_bytes(150000):strip_icc()/MountainPose_annotated-84dd6da2c3b145a8b6f15ff10809dcc8.jpg)
Benefits
- Improves posture and balance
- Strengthens legs and core
- Calms the mind
Modifications and Props
If heels lift, place a block between thighs. For tight shoulders, hold a block behind the back.
Common Mistakes
Slouching or locking knees—keep them soft but active.
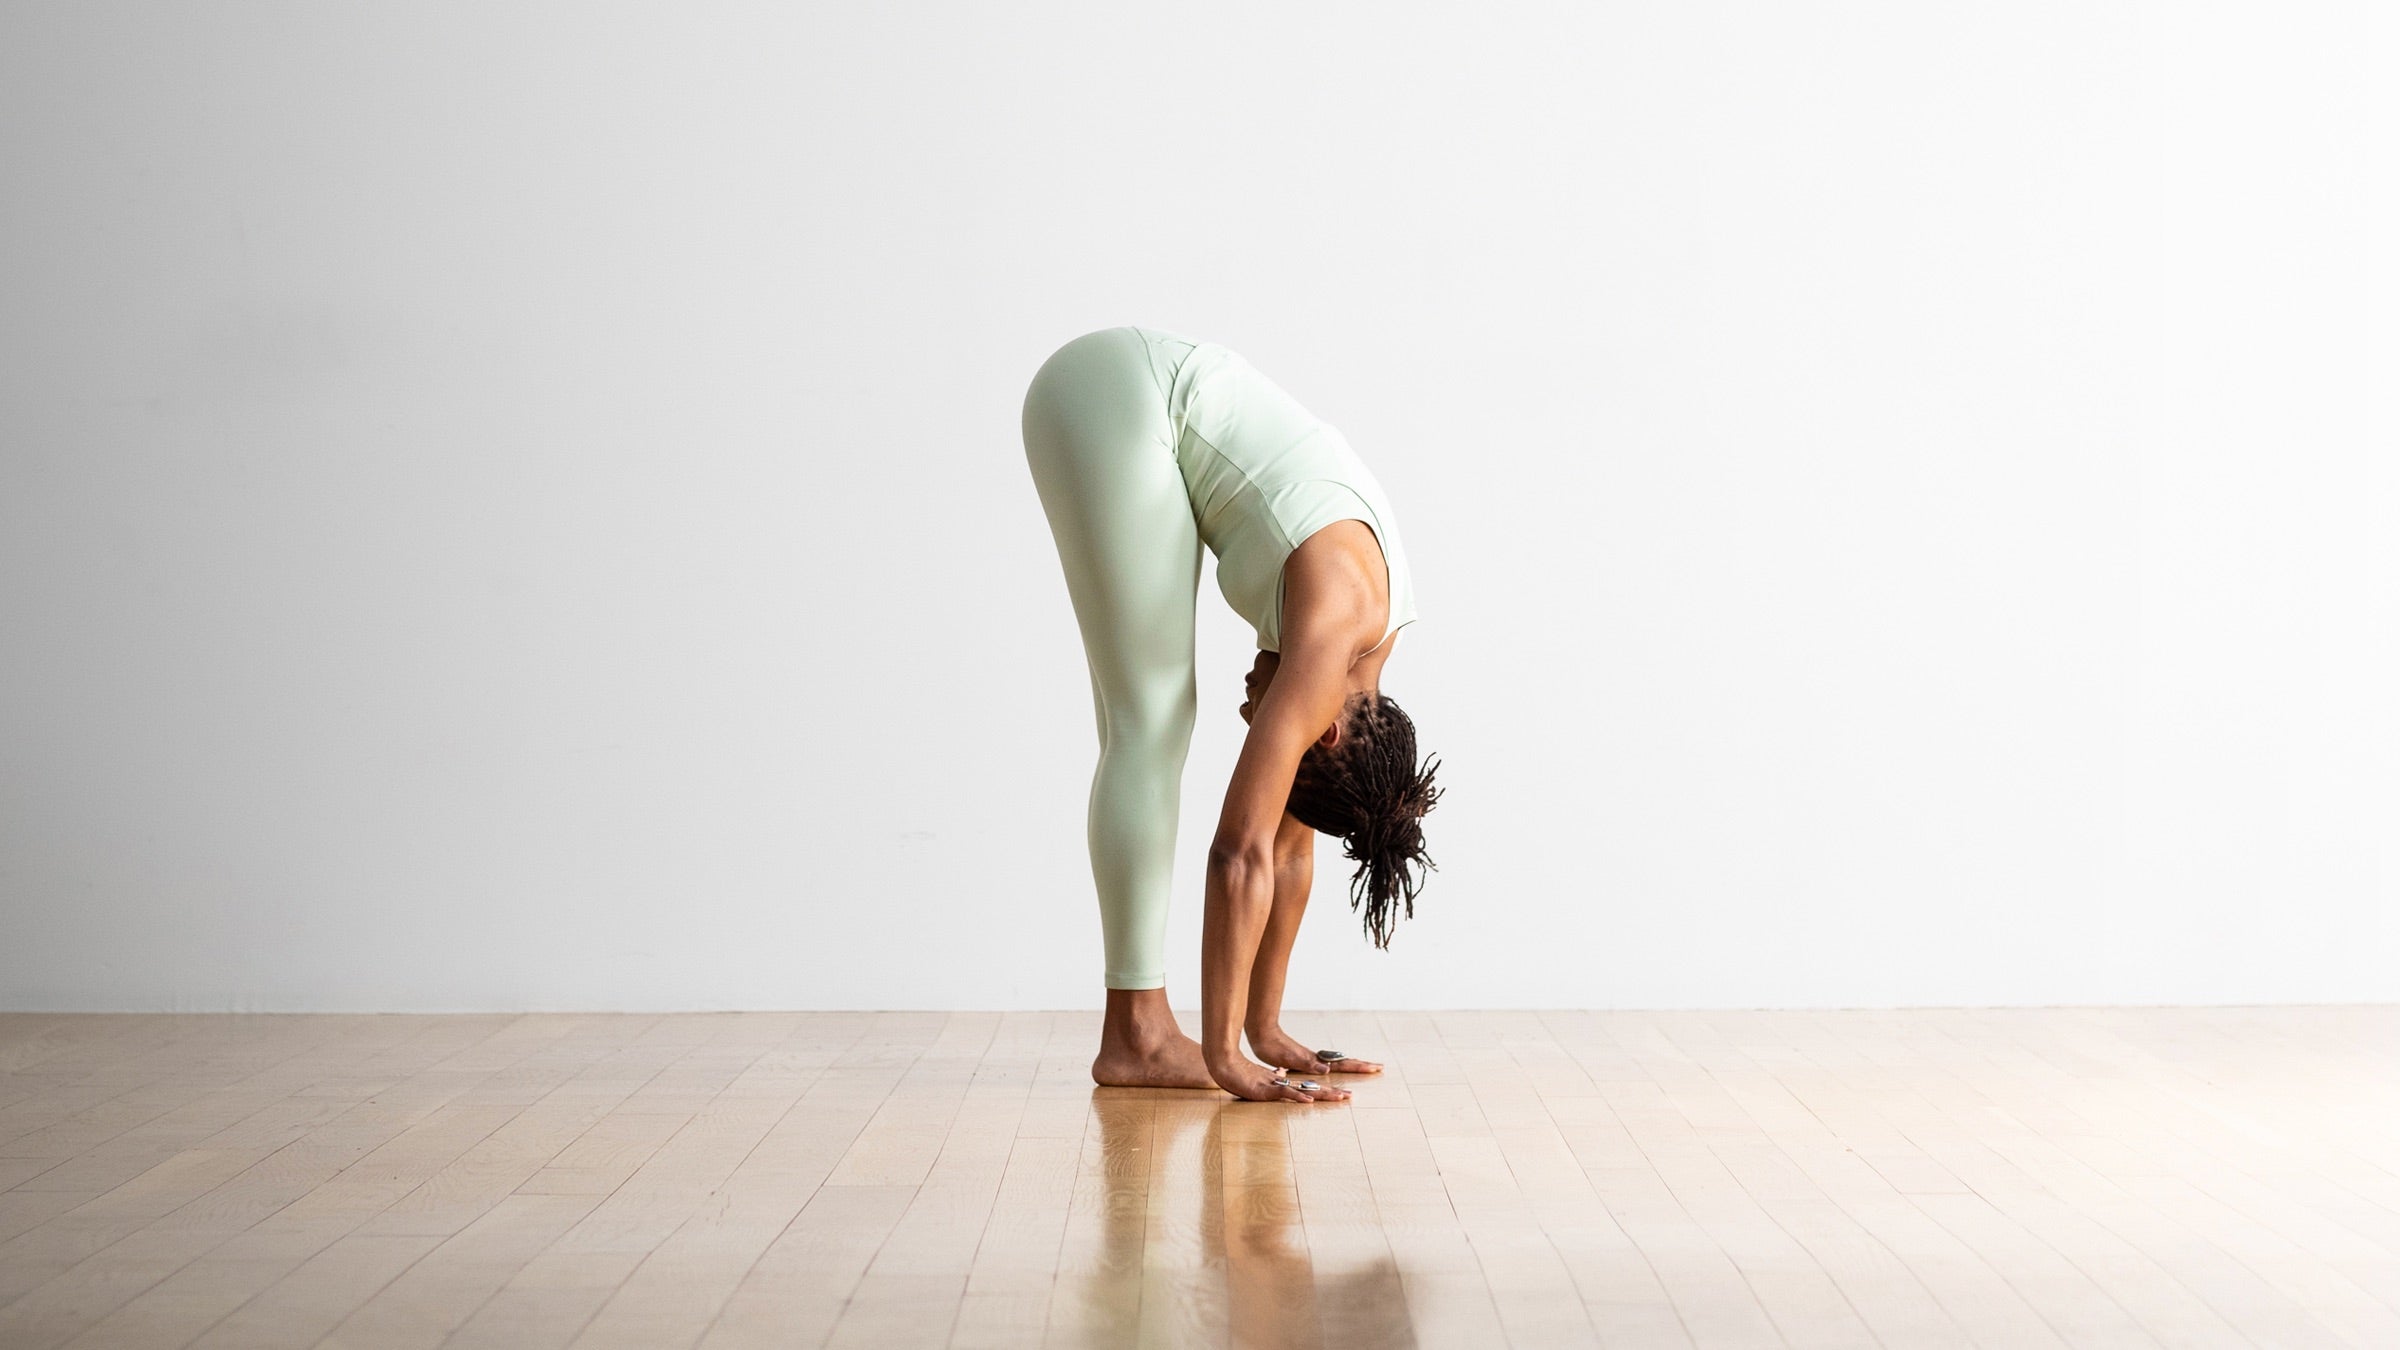
2. Uttanasana (Standing Forward Bend)
This calming fold releases the back and hamstrings, quieting a busy mind.
From Tadasana, exhale and fold forward from the hips. Bend knees generously if needed. Hands can rest on blocks or floor.
One day, after a stressful week, this pose felt like hitting reset. The world inverts, worries fade.

Benefits
- Stretches hamstrings and spine
- Relieves stress and mild depression
- Improves digestion
Modifications and Props
Use blocks under hands for tight hamstrings. Belt around feet if hands don’t reach.
Common Mistakes
Rounding the back—fold from hips, keep spine long.
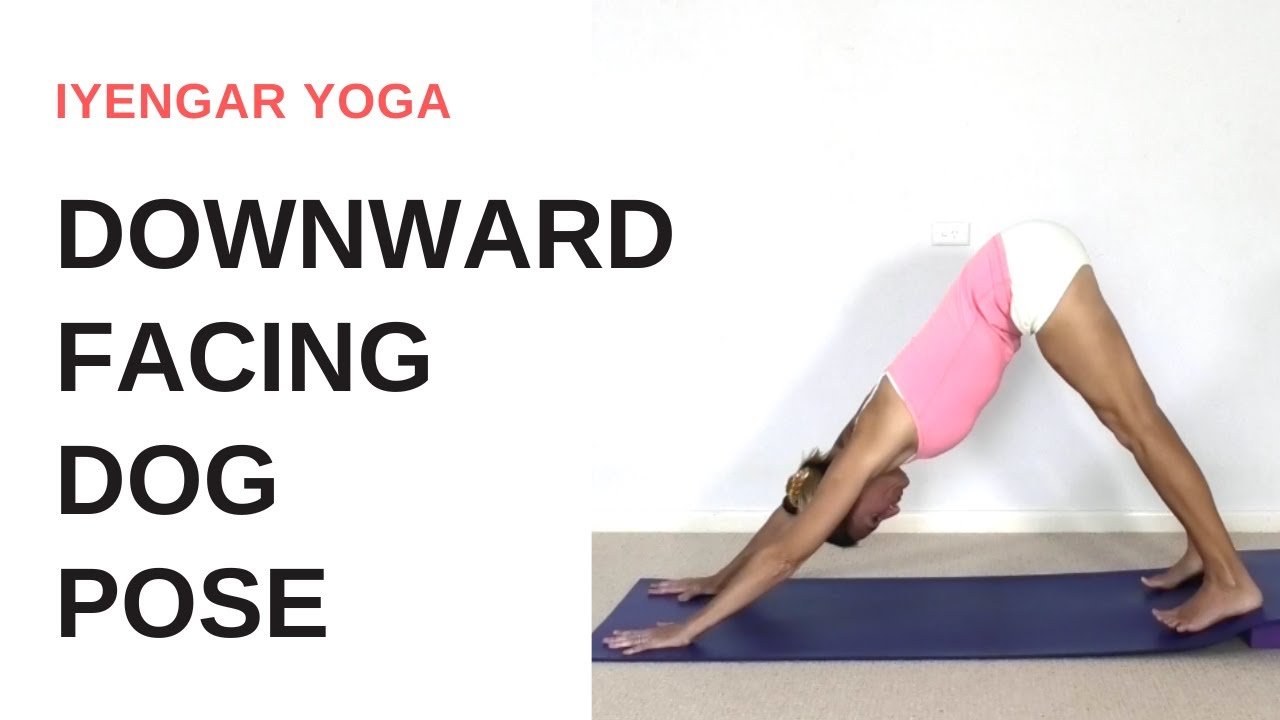
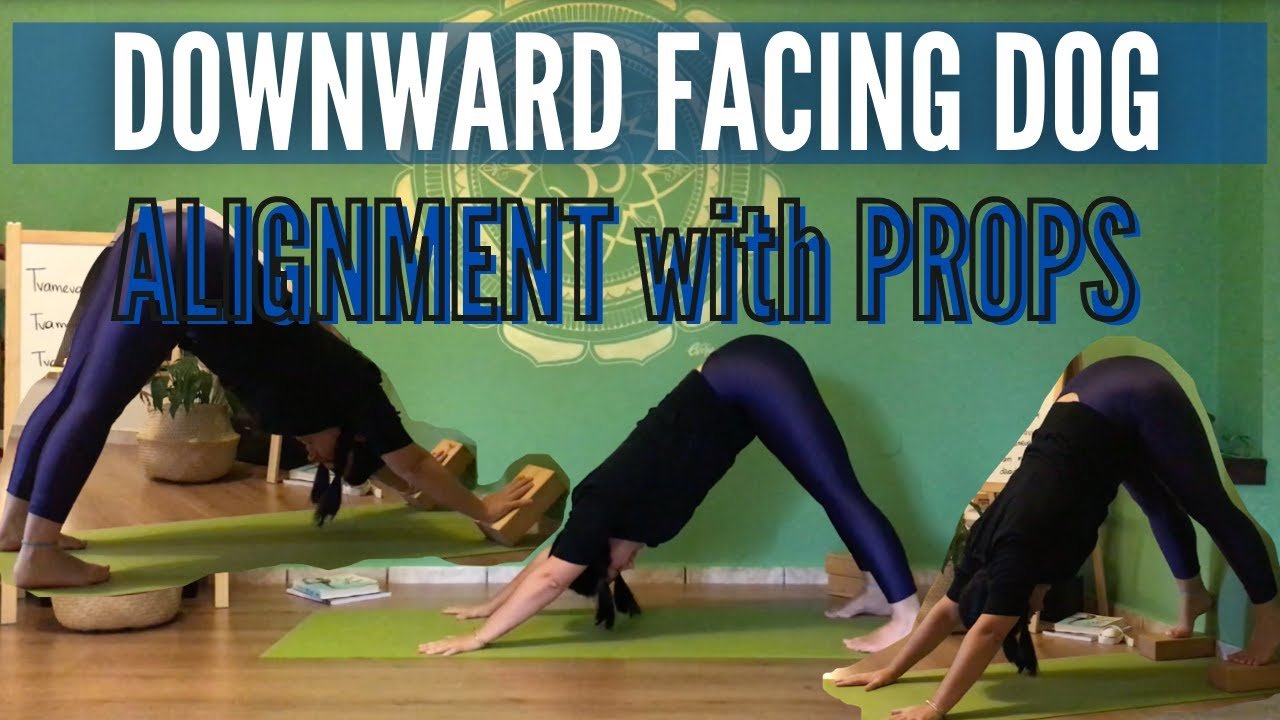
3. Adho Mukha Svanasana (Downward-Facing Dog)
A full-body invigorating pose that builds strength while stretching.
From hands and knees, lift hips up and back into an inverted V. Press palms flat, heels toward floor.
My first Down Dog was wobbly, but with props, it became a favorite energizer.

Benefits
- Strengthens arms and legs
- Energizes while calming
- Relieves headaches
Modifications and Props
Heels on wall or blocks. Belt around elbows if shoulders tight.
Common Mistakes
Sagging middle—lift hips high, draw ribs in.
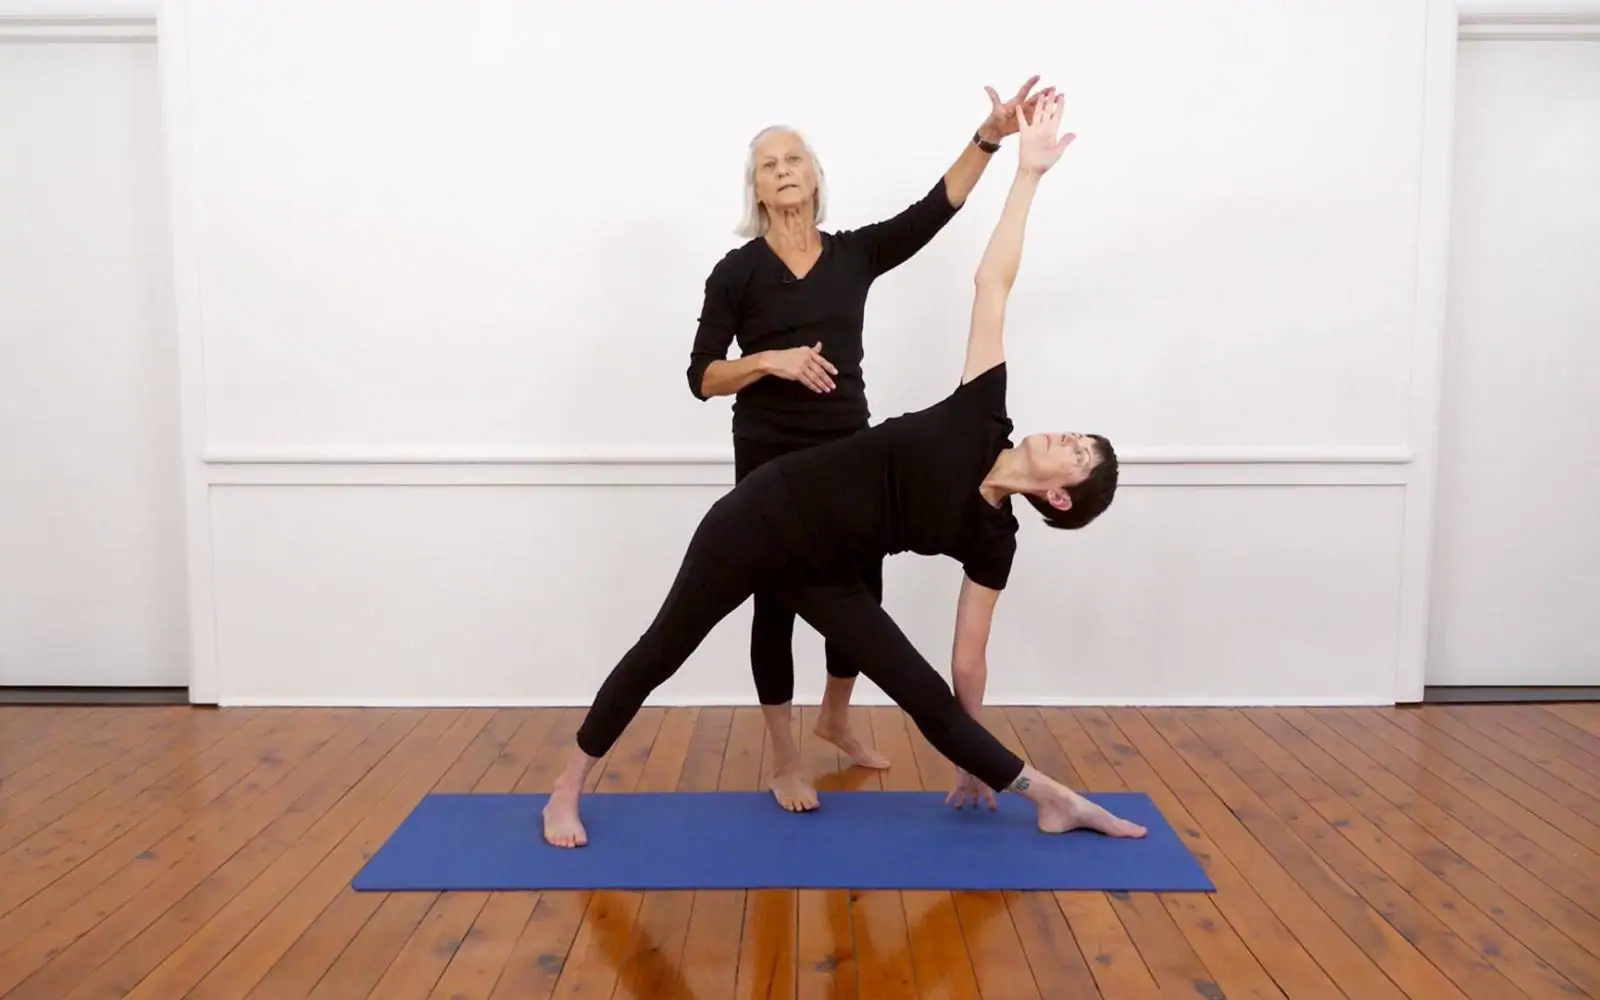
4. Utthita Trikonasana (Extended Triangle Pose)
Triangle opens the sides, building stability and openness.
Step feet wide, turn one foot out. Extend arms, reach forward then down to shin or block.
It taught me patience—rushing collapses the pose.


Benefits
- Stretches hips and sides
- Strengthens legs
- Improves focus
Modifications and Props
Hand on block. Wall for back support.
Common Mistakes
Twisting torso—keep chest open.
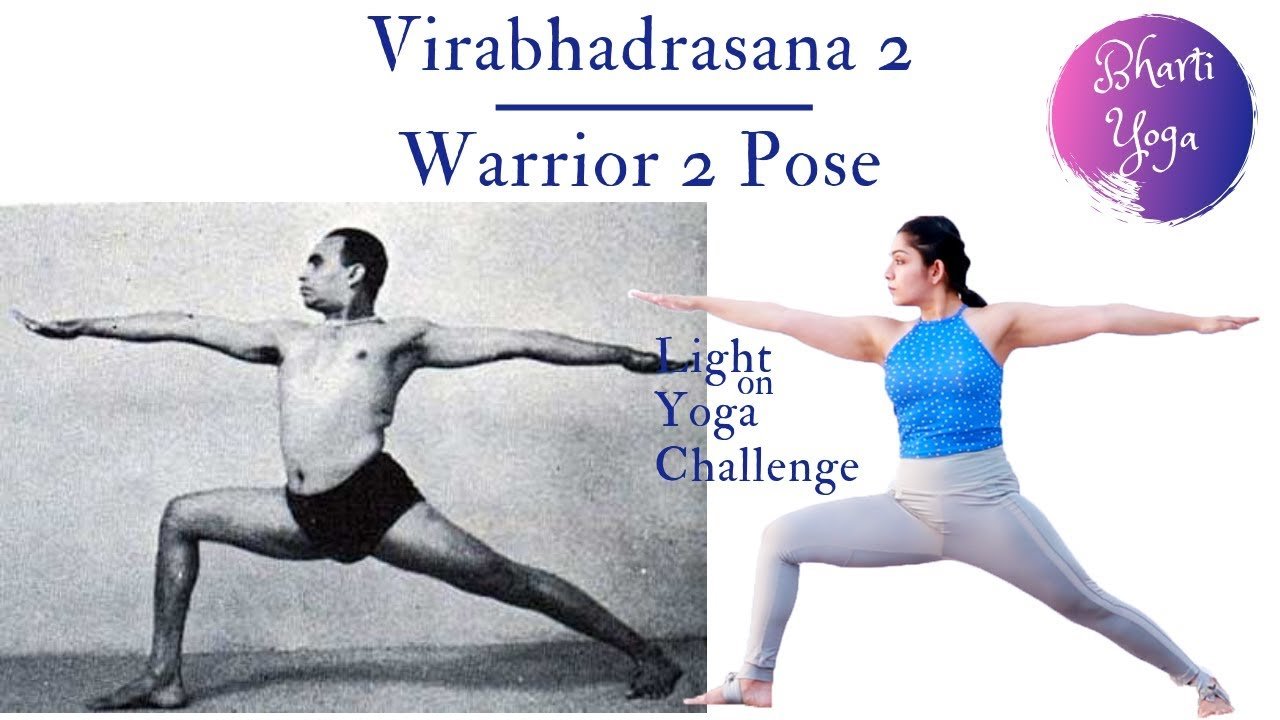
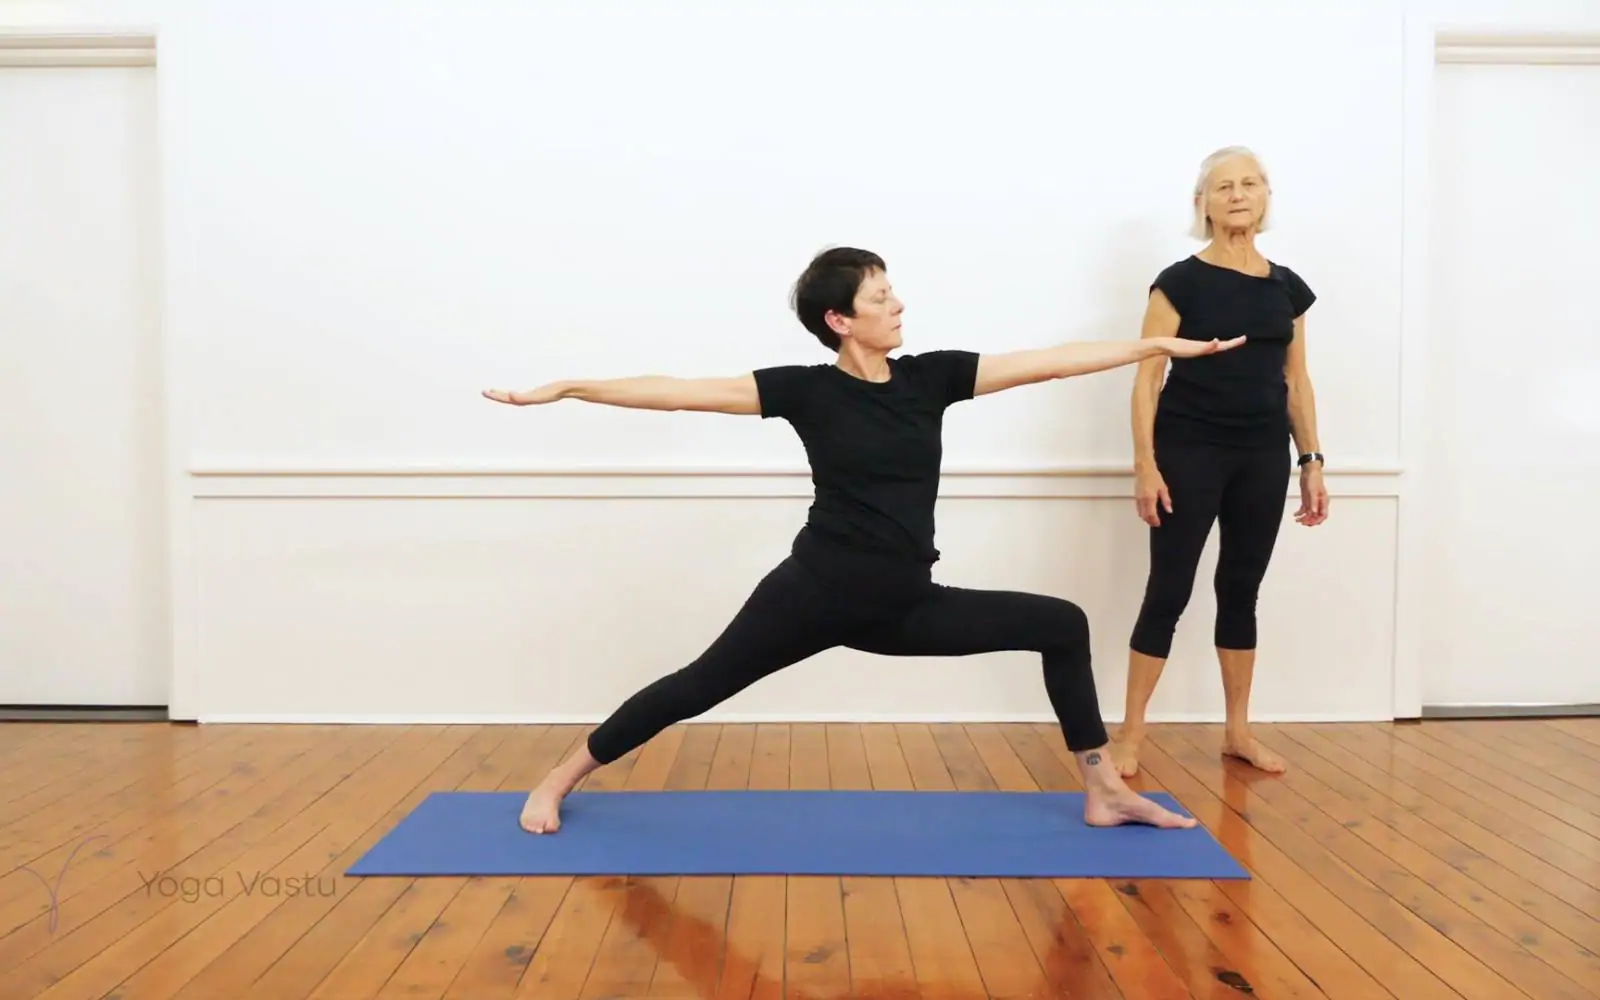
5. Virabhadrasana II (Warrior II Pose)
Warrior II embodies strength and focus, like a steady gaze into challenge.
Wide stance, front knee bent 90 degrees, arms extended parallel to floor, gaze over front hand.
I felt empowered here, like facing life’s battles with grace.

Benefits
- Builds leg strength and stamina
- Opens hips and chest
- Enhances concentration
Modifications and Props
Back heel against wall. Narrow stance if needed.
Common Mistakes
Front knee collapsing inward—align over ankle.
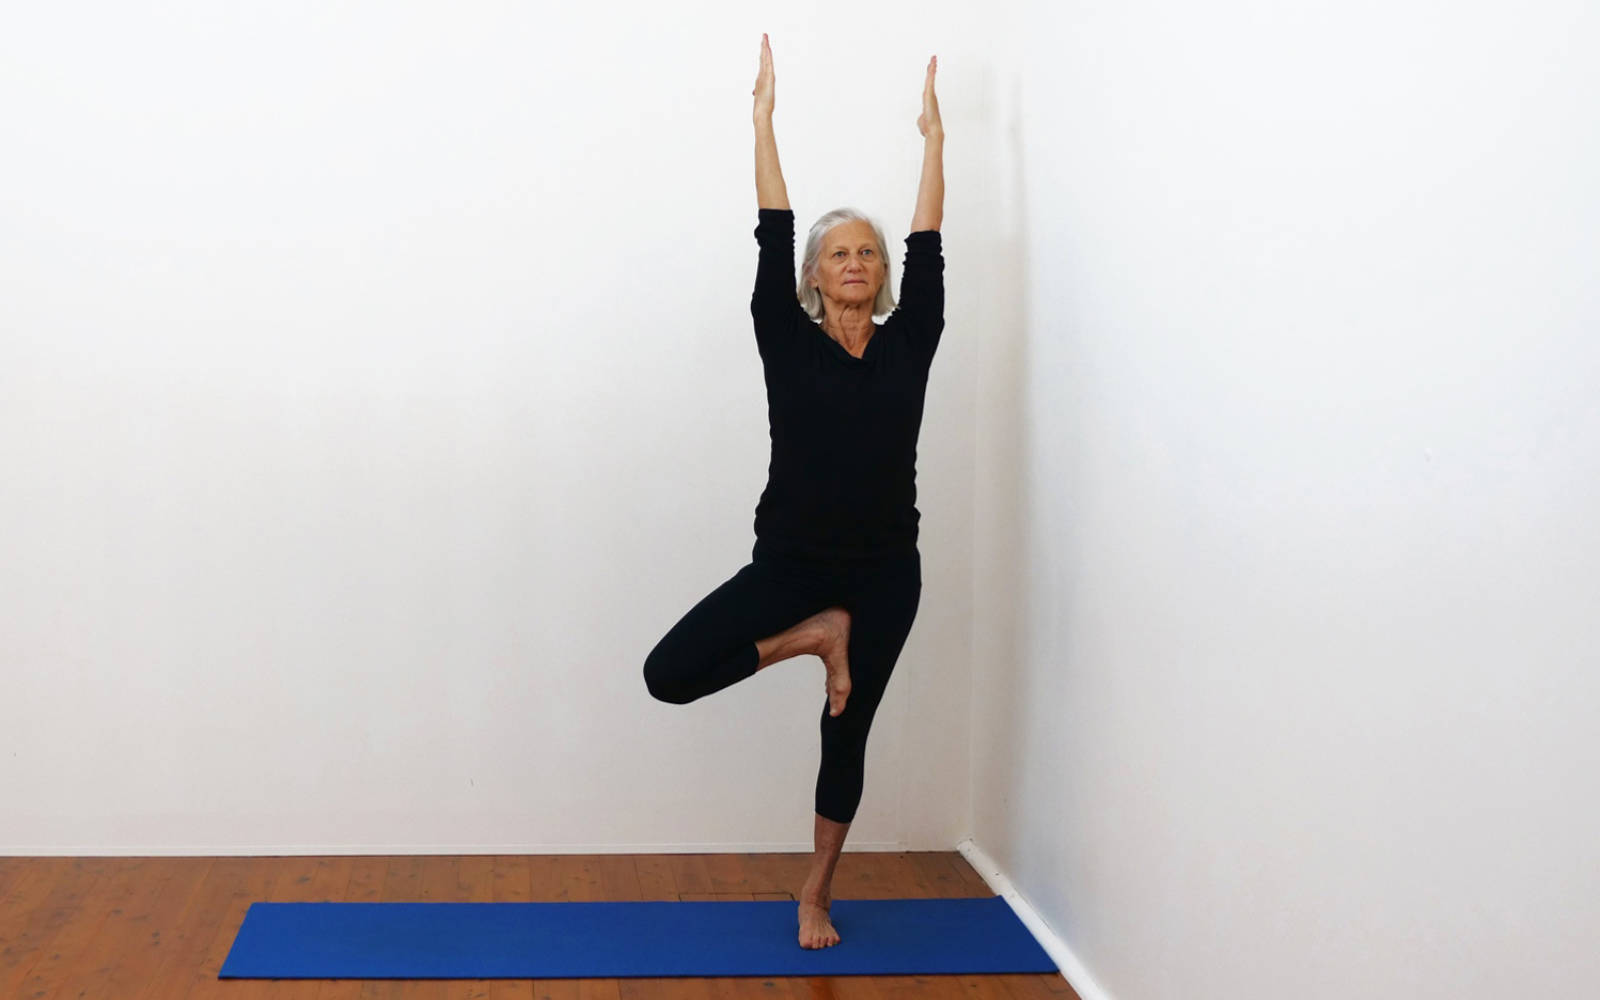
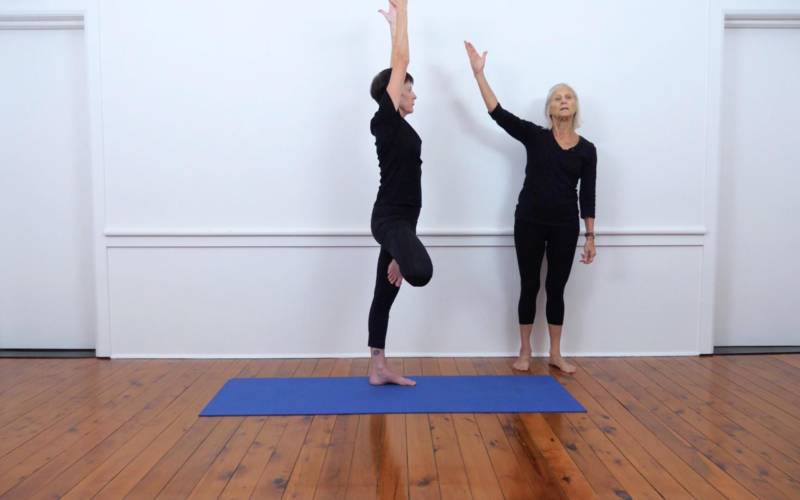
6. Vrksasana (Tree Pose)
Tree cultivates balance and poise, both physical and mental.
Stand on one leg, place other foot on inner thigh or calf. Hands at heart or overhead.
Wobbling? Laugh it off—it’s normal.

Benefits
- Improves balance and focus
- Strengthens legs and core
- Builds confidence
Modifications and Props
Foot on block or wall for support.
Common Mistakes
Hip hiking up—keep pelvis level.
7. Dandasana (Staff Pose)
The seated equivalent of Tadasana, preparing for forward bends.
Sit with legs extended, spine tall, hands beside hips.
Simple, yet it reveals imbalances quickly.


Benefits
- Strengthens back and core
- Improves posture
- Prepares for seated poses
Modifications and Props
Sit on folded blanket if hips tight.
Common Mistakes
Slouching—lift chest actively.
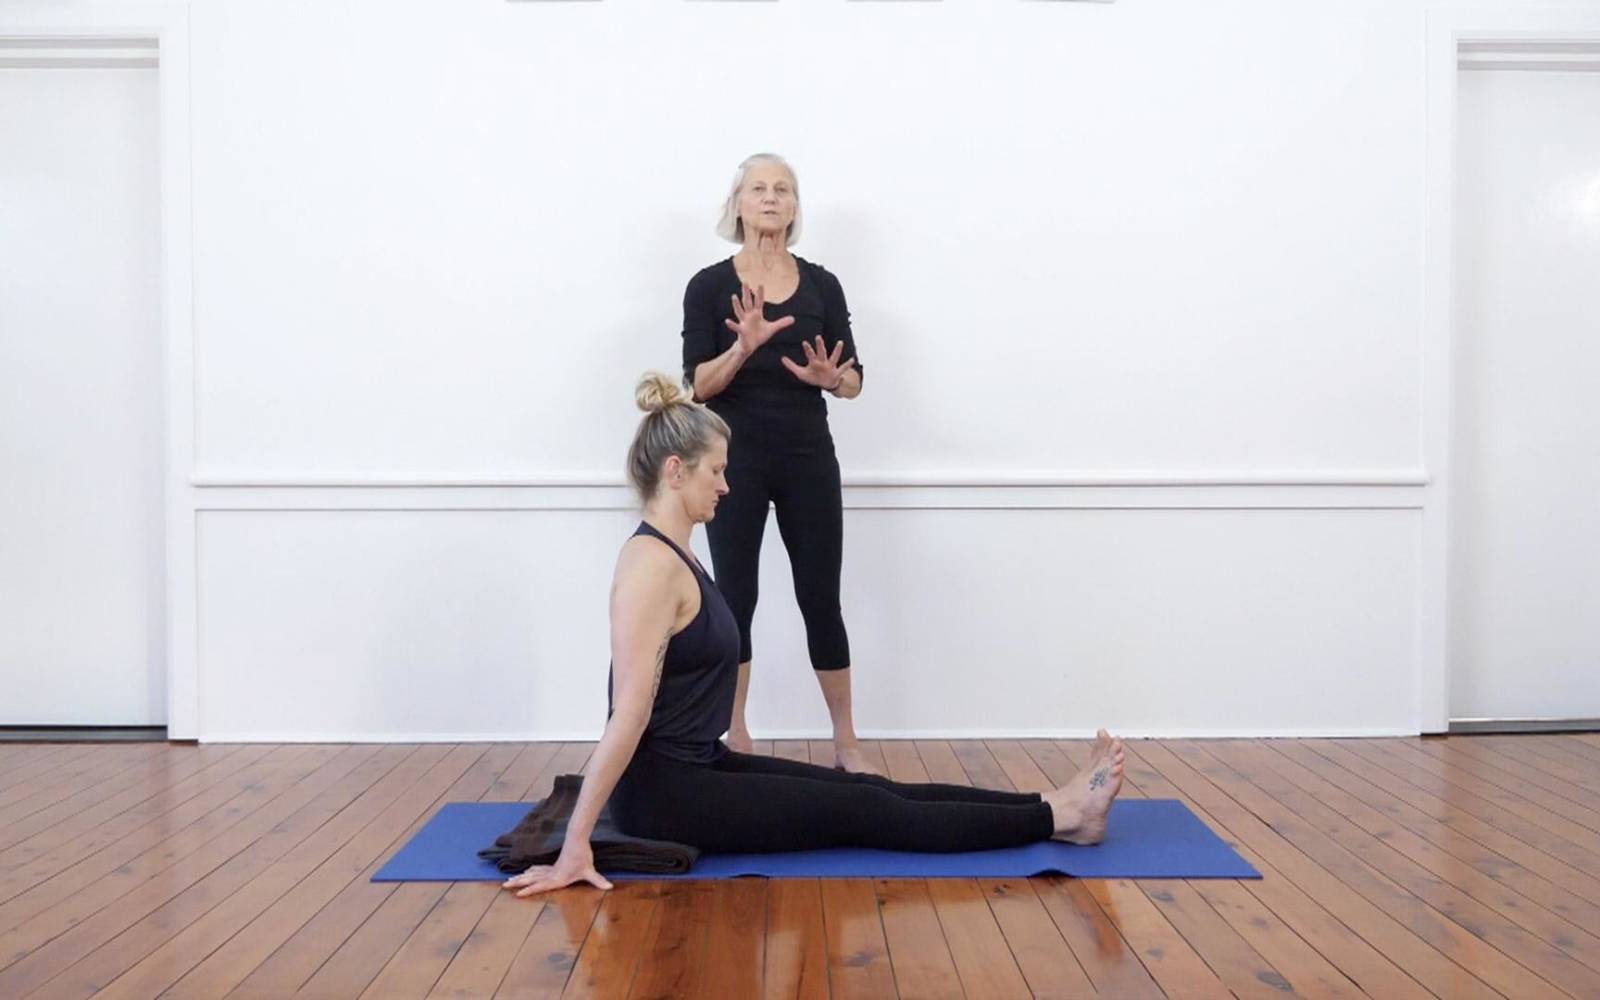
8. Paschimottanasana (Seated Forward Bend)
A soothing fold that stretches the entire back body.
From Dandasana, exhale forward over legs. Use belt if needed.
Deeply restorative—perfect after a long day.

Benefits
- Calms nervous system
- Stretches hamstrings and spine
- Aids digestion
Modifications and Props
Belt around feet, bolster under torso.
Common Mistakes
Pulling with arms—lengthen spine first.
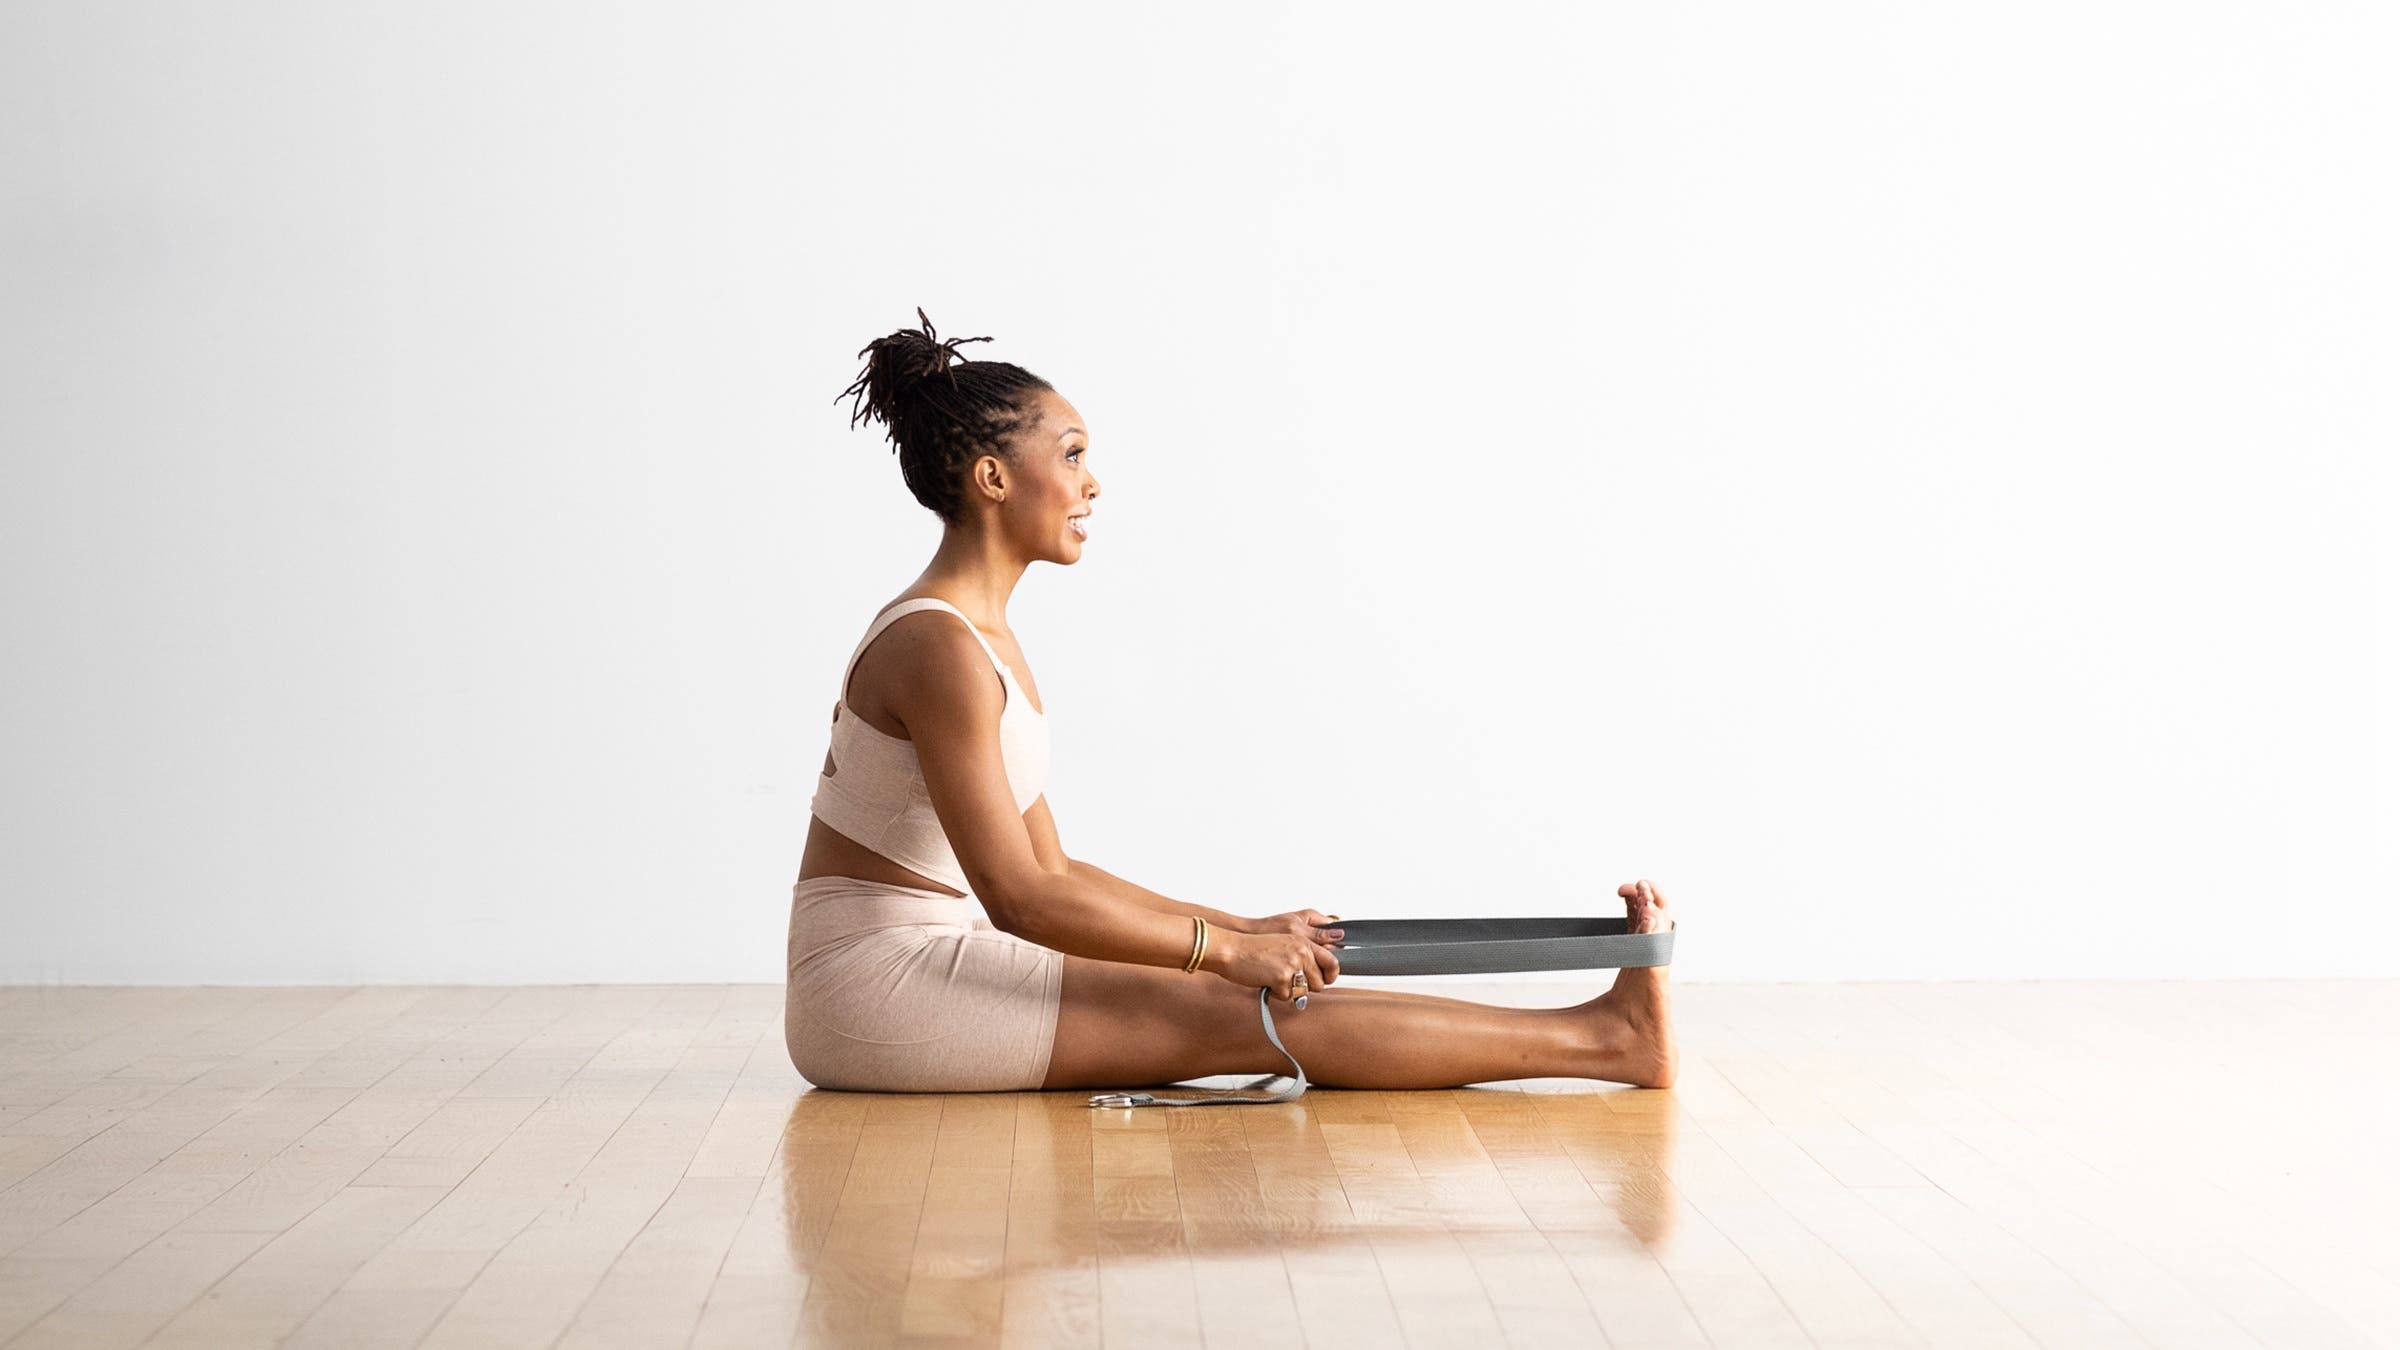
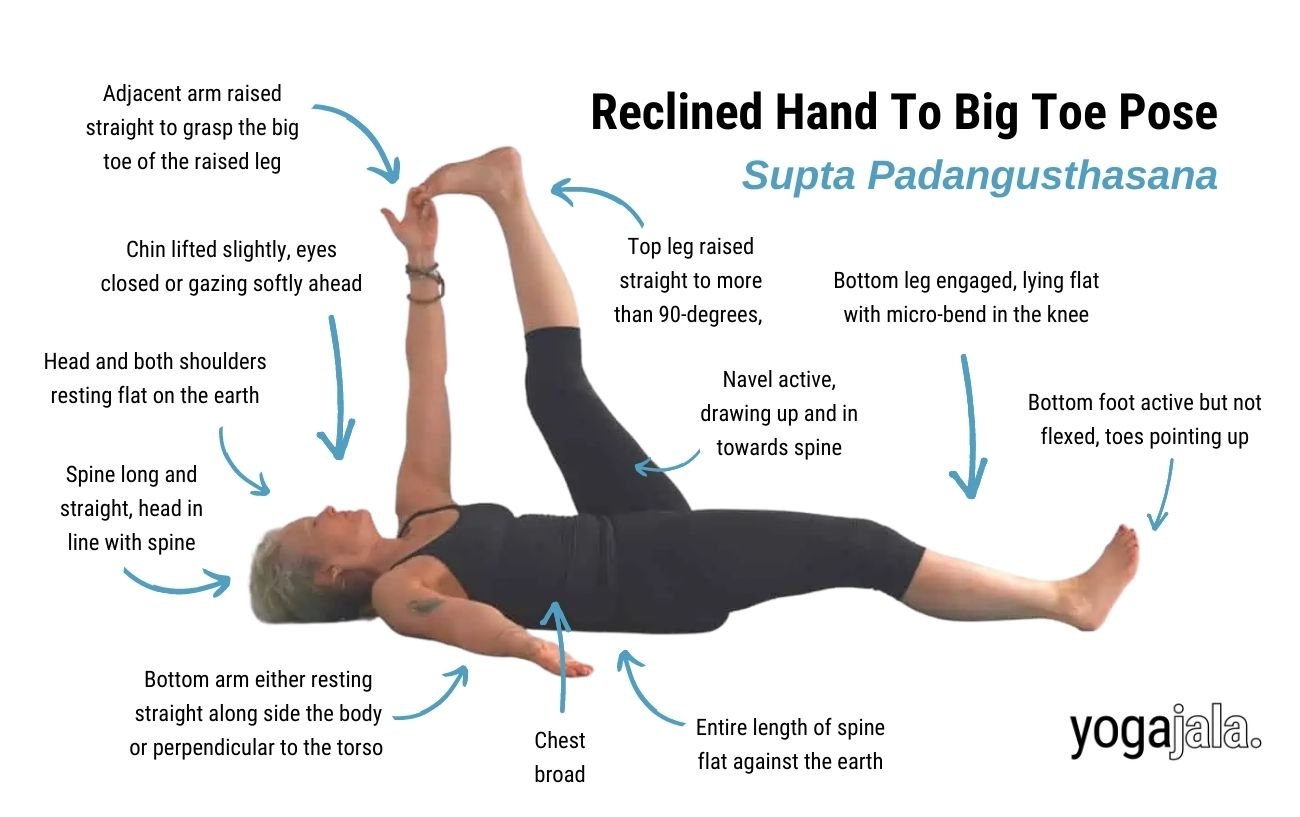
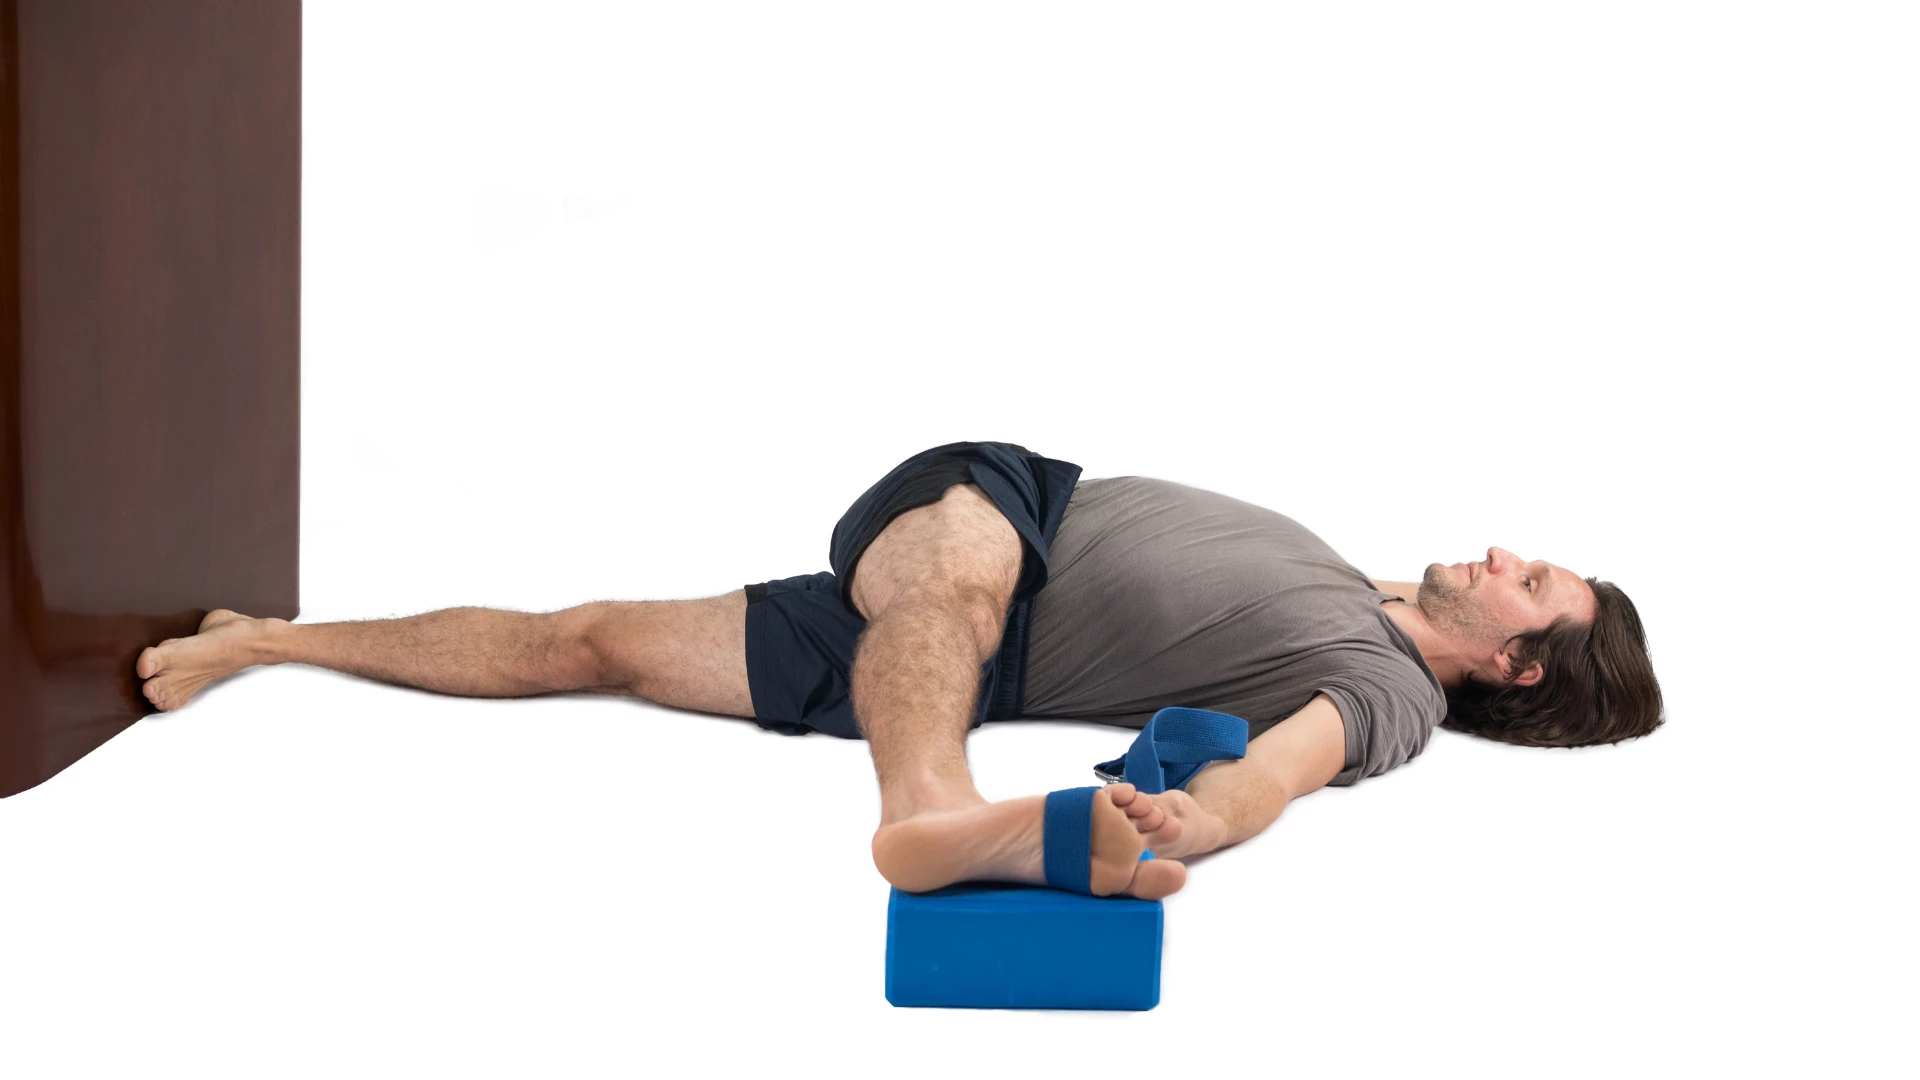
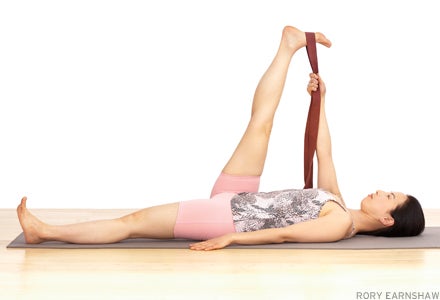
9. Supta Padangusthasana (Reclining Hand-to-Big-Toe Pose)
Gentle hamstring opener, accessible lying down.
Lie on back, lift one leg, hold toe with belt if needed.
Therapeutic for lower back issues.
Benefits
- Stretches legs without strain
- Relieves back pain
- Promotes relaxation
Modifications and Props
Belt essential for most beginners.
Common Mistakes
Lifting opposite hip—keep pelvis grounded.
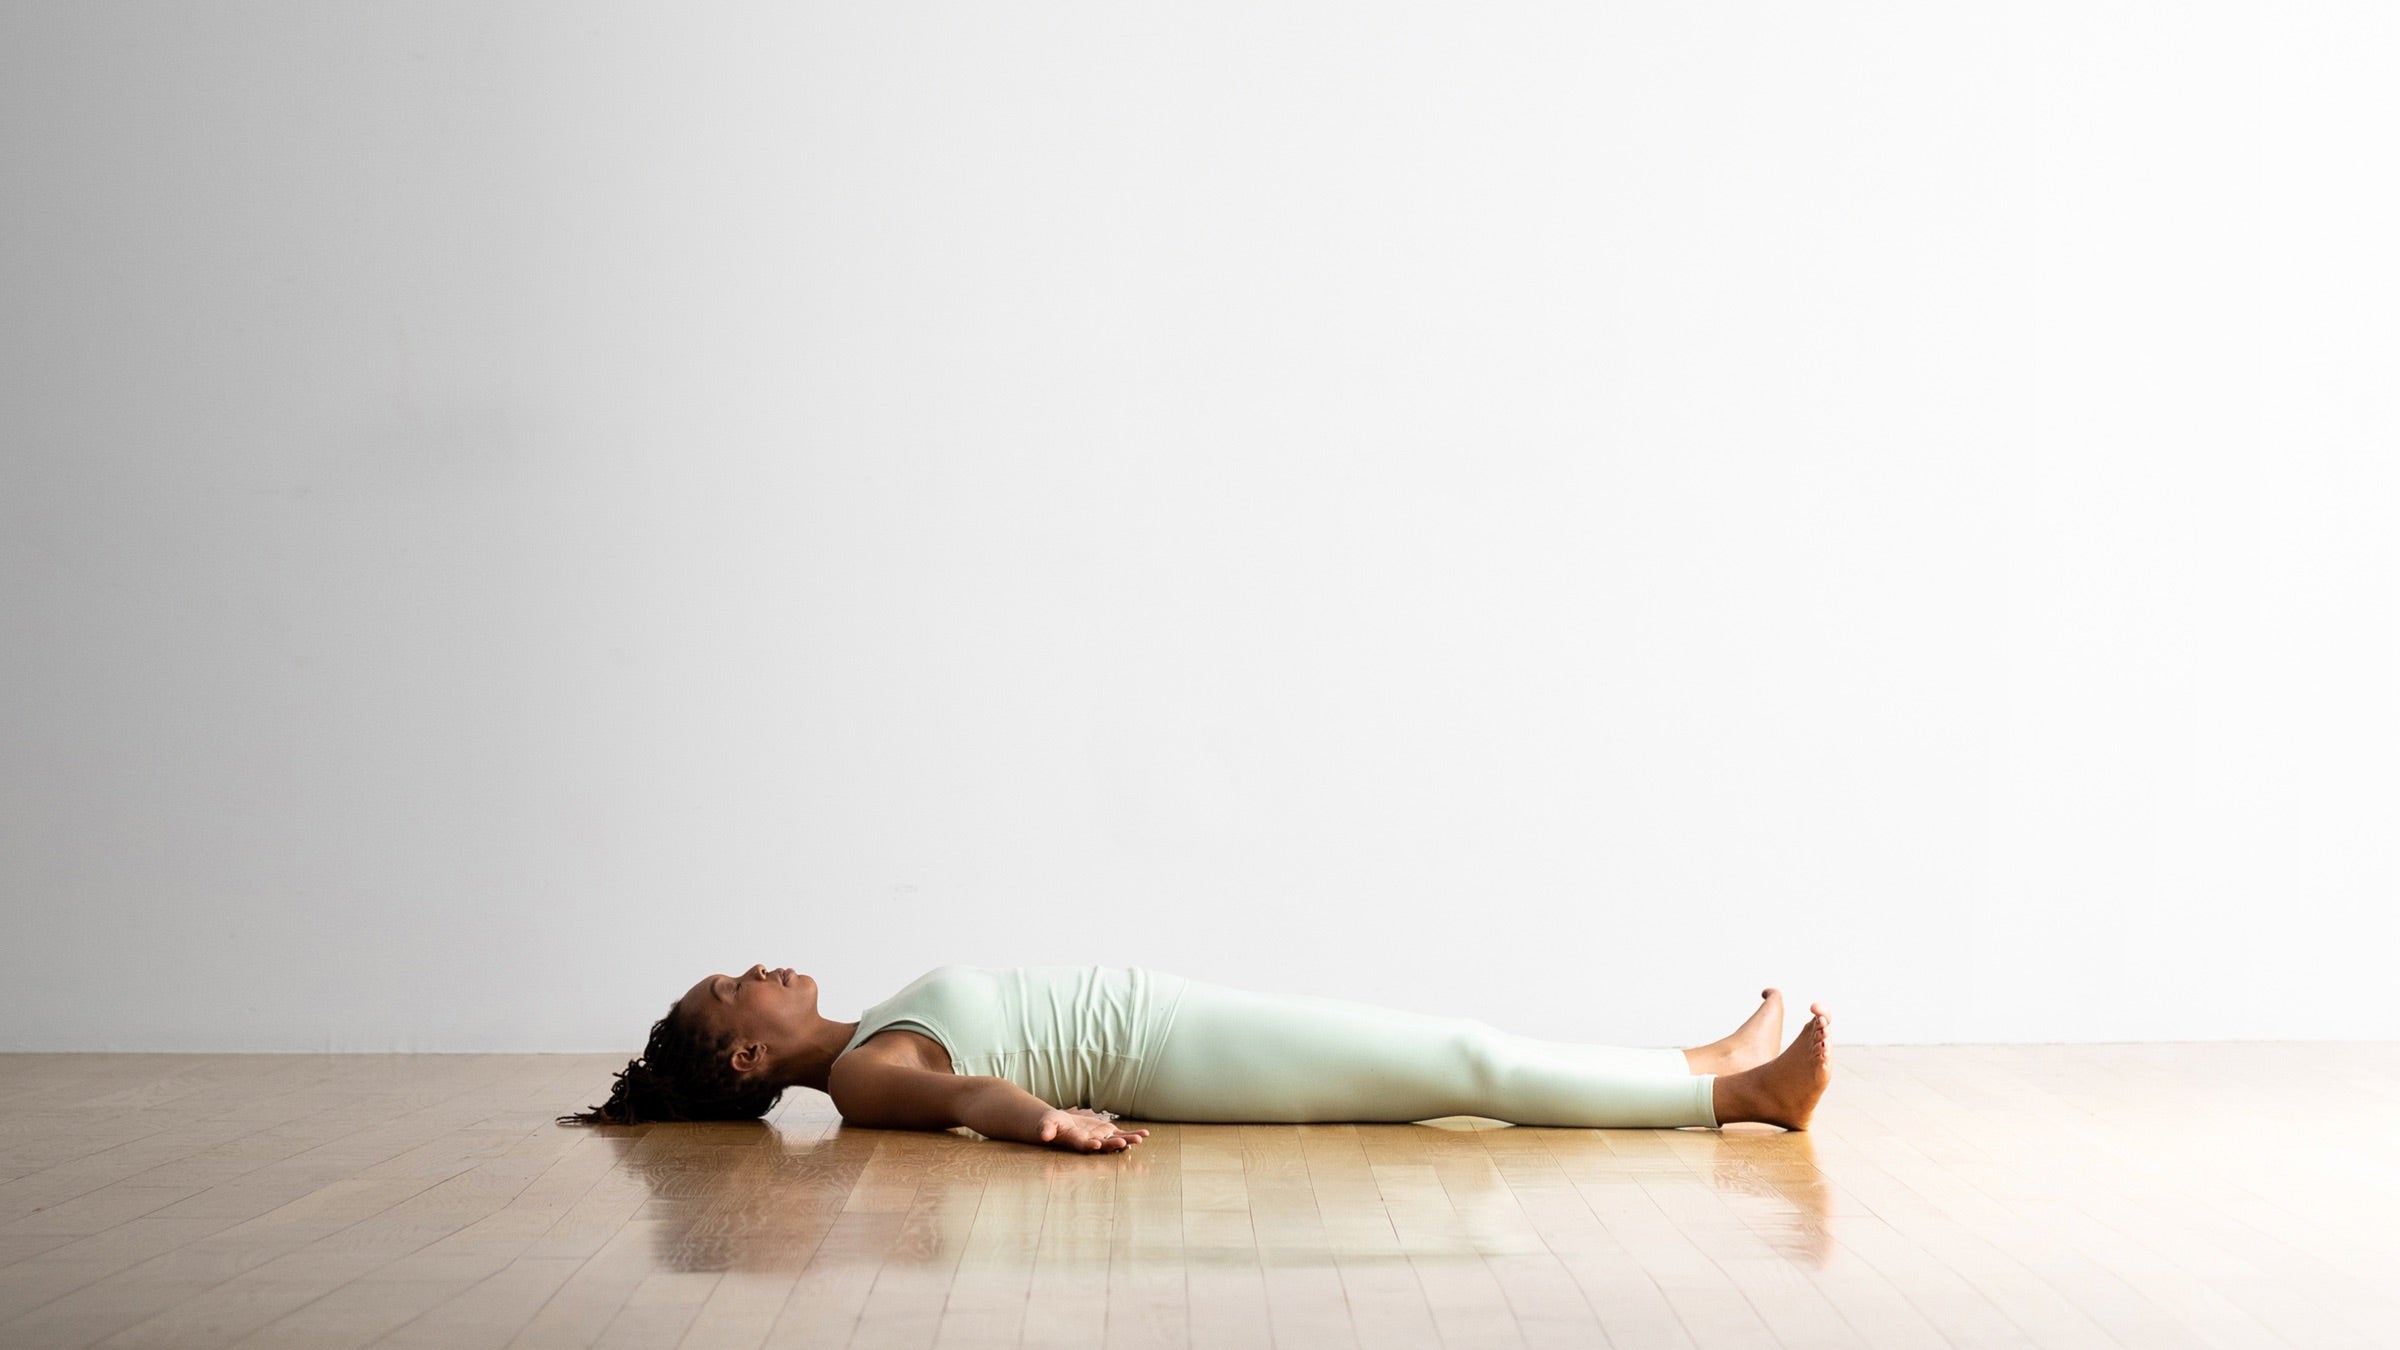
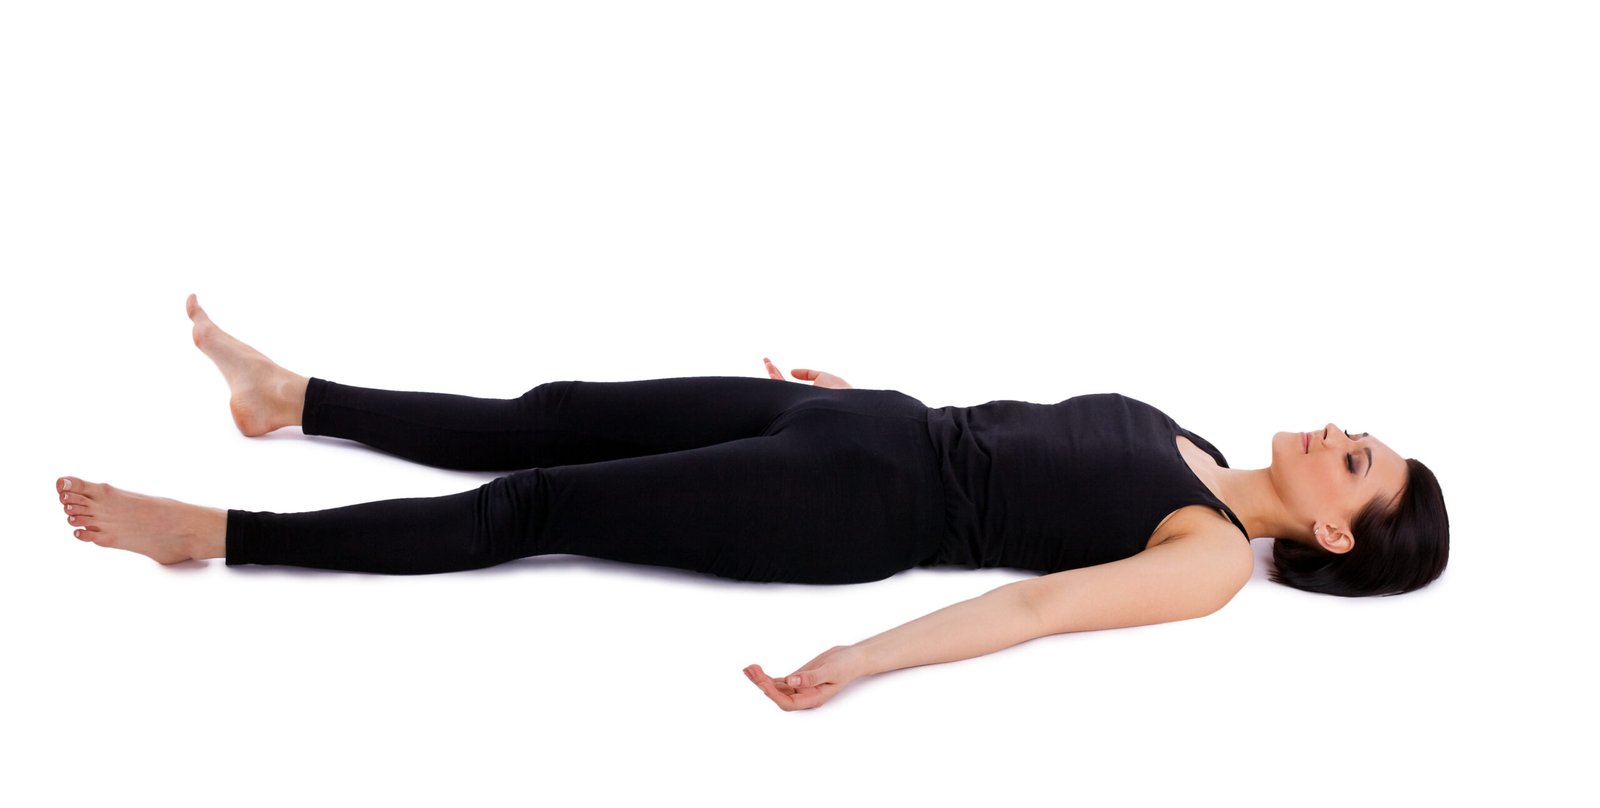
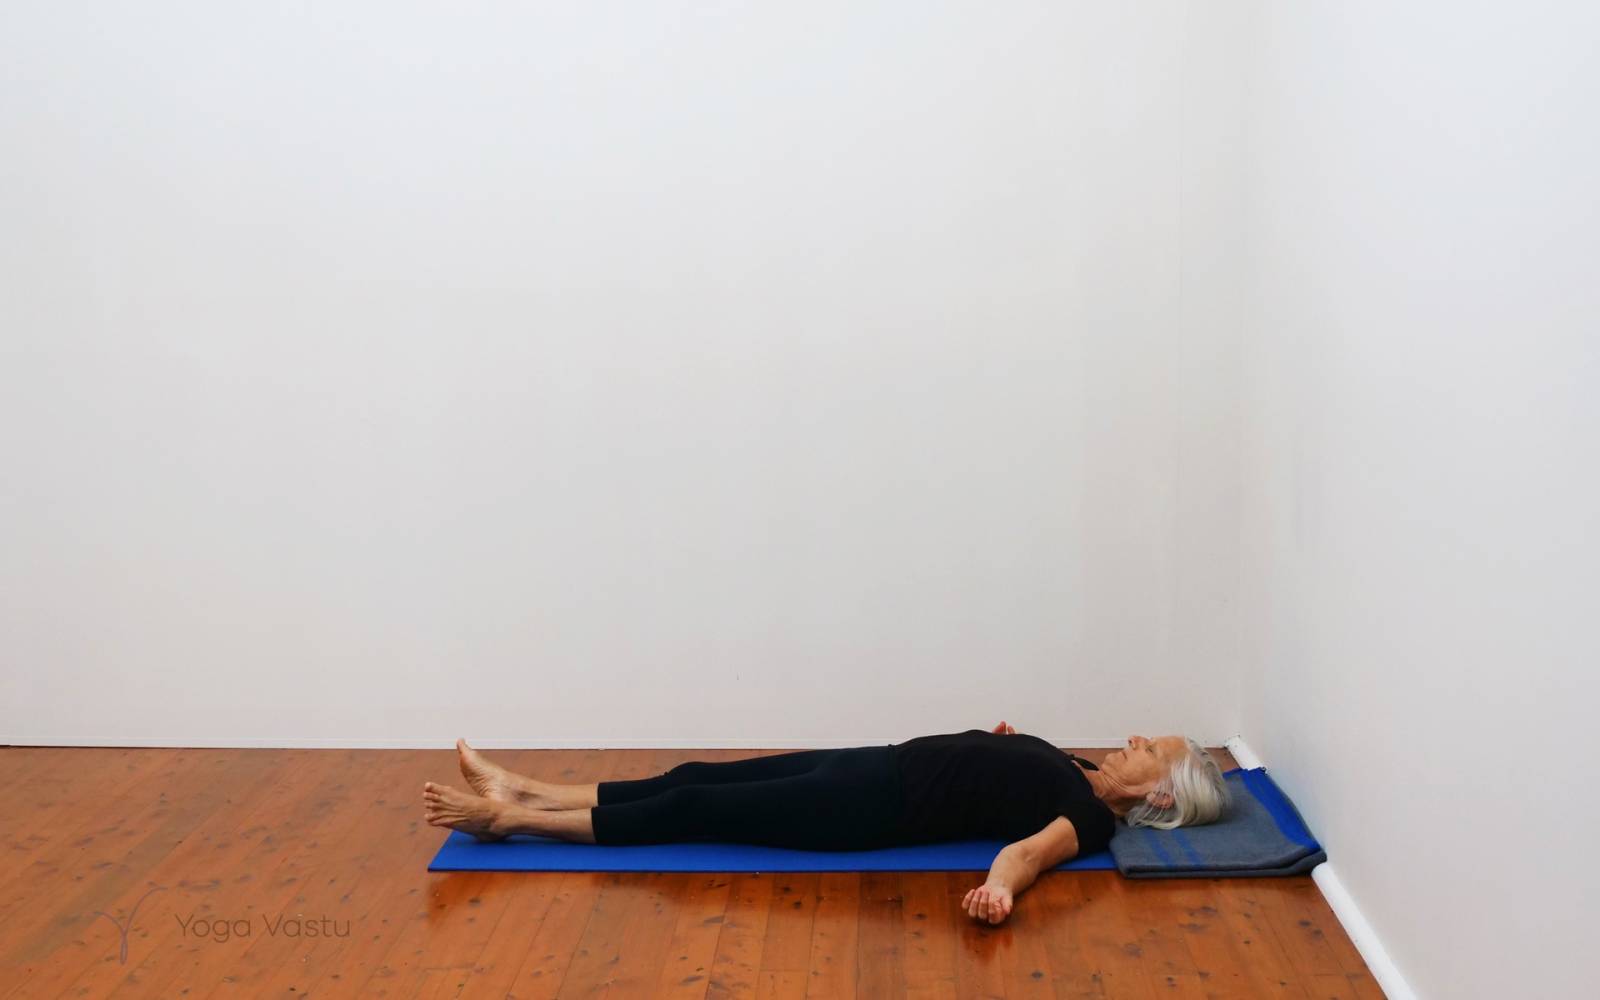
10. Savasana (Corpse Pose)
The most important pose—integration and rest.
Lie flat, palms up, eyes closed. Let everything go.
I used to skip this, thinking it was “doing nothing.” Now, it’s my favorite reward.
Benefits
- Reduces stress and fatigue
- Integrates practice benefits
- Lowers blood pressure
Modifications and Props
Blanket under head, bolster under knees.
Common Mistakes
Falling asleep—stay aware.
Sample Beginner Sequence
Try this 30-45 minute flow:
- Tadasana (1 min)
- Uttanasana (30 sec)
- Adho Mukha Svanasana (1 min)
- Trikonasana (both sides, 30 sec each)
- Virabhadrasana II (both sides, 30 sec)
- Vrksasana (both sides, 20 sec)
- Dandasana (1 min)
- Paschimottanasana (1 min)
- Supta Padangusthasana (both sides, 1 min)
- Savasana (5-10 min)
Pros and Cons of Iyengar Yoga
| Pros | Cons |
|---|---|
| Excellent for alignment and injury prevention | Slower pace may feel less “workout-like” initially |
| Props make it accessible to all bodies | Requires investment in props |
| Therapeutic benefits backed by precision | Classes can be detailed and intense mentally |
| Builds deep awareness and mindfulness | Fewer “flow” elements compared to vinyasa |
People Also Ask
Is Iyengar yoga good for beginners? Yes, absolutely—its focus on alignment and props makes it one of the safest and most accessible styles.
How often should beginners practice Iyengar yoga? Start with 2-3 sessions per week, 20-45 minutes each. Consistency trumps duration.
What props do I need for Iyengar yoga at home? Mat, 2 blocks, belt, 2-3 blankets. Start simple.
Can Iyengar yoga help with back pain? Many find relief through precise alignment and supported poses. Consult a teacher for specifics.
What’s the difference between Iyengar and Hatha yoga? Iyengar is a form of Hatha, but with greater emphasis on props, timing, and sequencing.
FAQ
Where can I find certified Iyengar teachers? Check the official B.K.S. Iyengar website (bksiyengar.com) or local associations like Iyengar Yoga National Association.
Do I need to be flexible to start Iyengar yoga? No—that’s a myth. Props and modifications build flexibility safely.
How long should I hold poses as a beginner? 30 seconds to 1 minute. Focus on breath and alignment over time.
Is Iyengar yoga suitable during pregnancy? Yes, with modifications—seek a prenatal-certified teacher.
What are the best books for beginners? Start with Light on Yoga by B.K.S. Iyengar or Yoga for Beginners by him.
Years into my practice, I still return to these 10 poses. They grounded me when life felt chaotic and strengthened me when I felt weak. Iyengar yoga isn’t about perfection—it’s about presence. Give yourself grace, use those props, and enjoy the journey. Your body (and mind) will thank you.